How to deflicker images with GlueMotion?

Making a good quality timelapse video is not an easy task. We made GlueMotion intending to allow anyone to easily generate time-lapses from images. GlueMotion loads your pictures, applies image corrections, analyses/deflickers the photos, and assembles them into video. However, you may want to correct your photos and use another software to render the final video. We will see below how to do it.
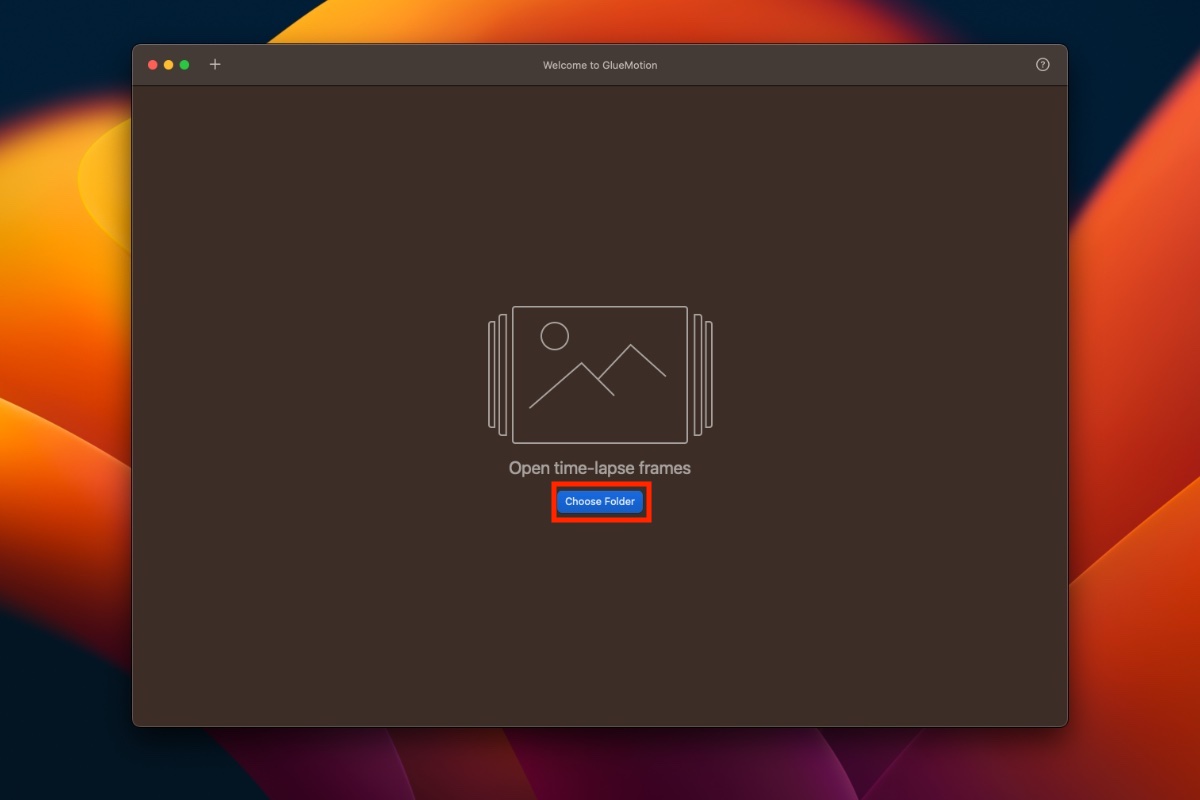
The first step is to open your images. You have to use the dedicated button.
Once the images are opened, go to the deflicker step to configure the different options.
-
Deflickering method: This is the name of the filter used to fix the image colors. We recommend using a luminance correction, the default choice, and the most natural correction.
-
Number of passes: This parameter is typically 1 or 2: the higher the number, the smoother the brightness changes. You can see if the curve is smooth or not in the left view.
-
Window size: This option is the number of frames in which there should be no significant change in brightness. For example, if the final video is 60 frames per second and the window is 30, there will be no significant change in brightness for 0.5 seconds.

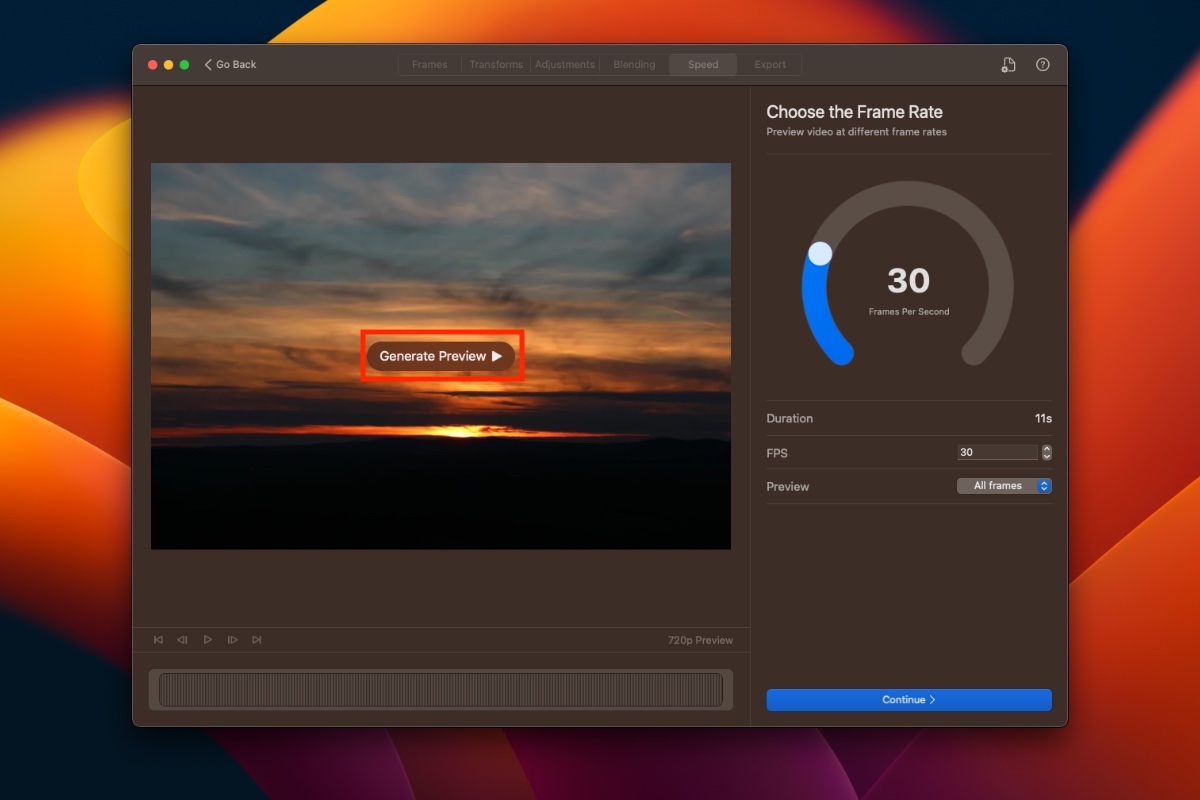
Once you set up all the parameters, move on to the next step. This step allows you to generate a preview video quickly.
If you are satisfied, all you have to do is to export the content. You can, of course, generate a video. You can also export the deflicker values in a CSV format or save the images with the corrections applied.

Don't forget to click on export and wait for the process to complete.

Stay in touch
We are working on awesome new projects, subscribe to be notified.